Not Your Regular Cookie

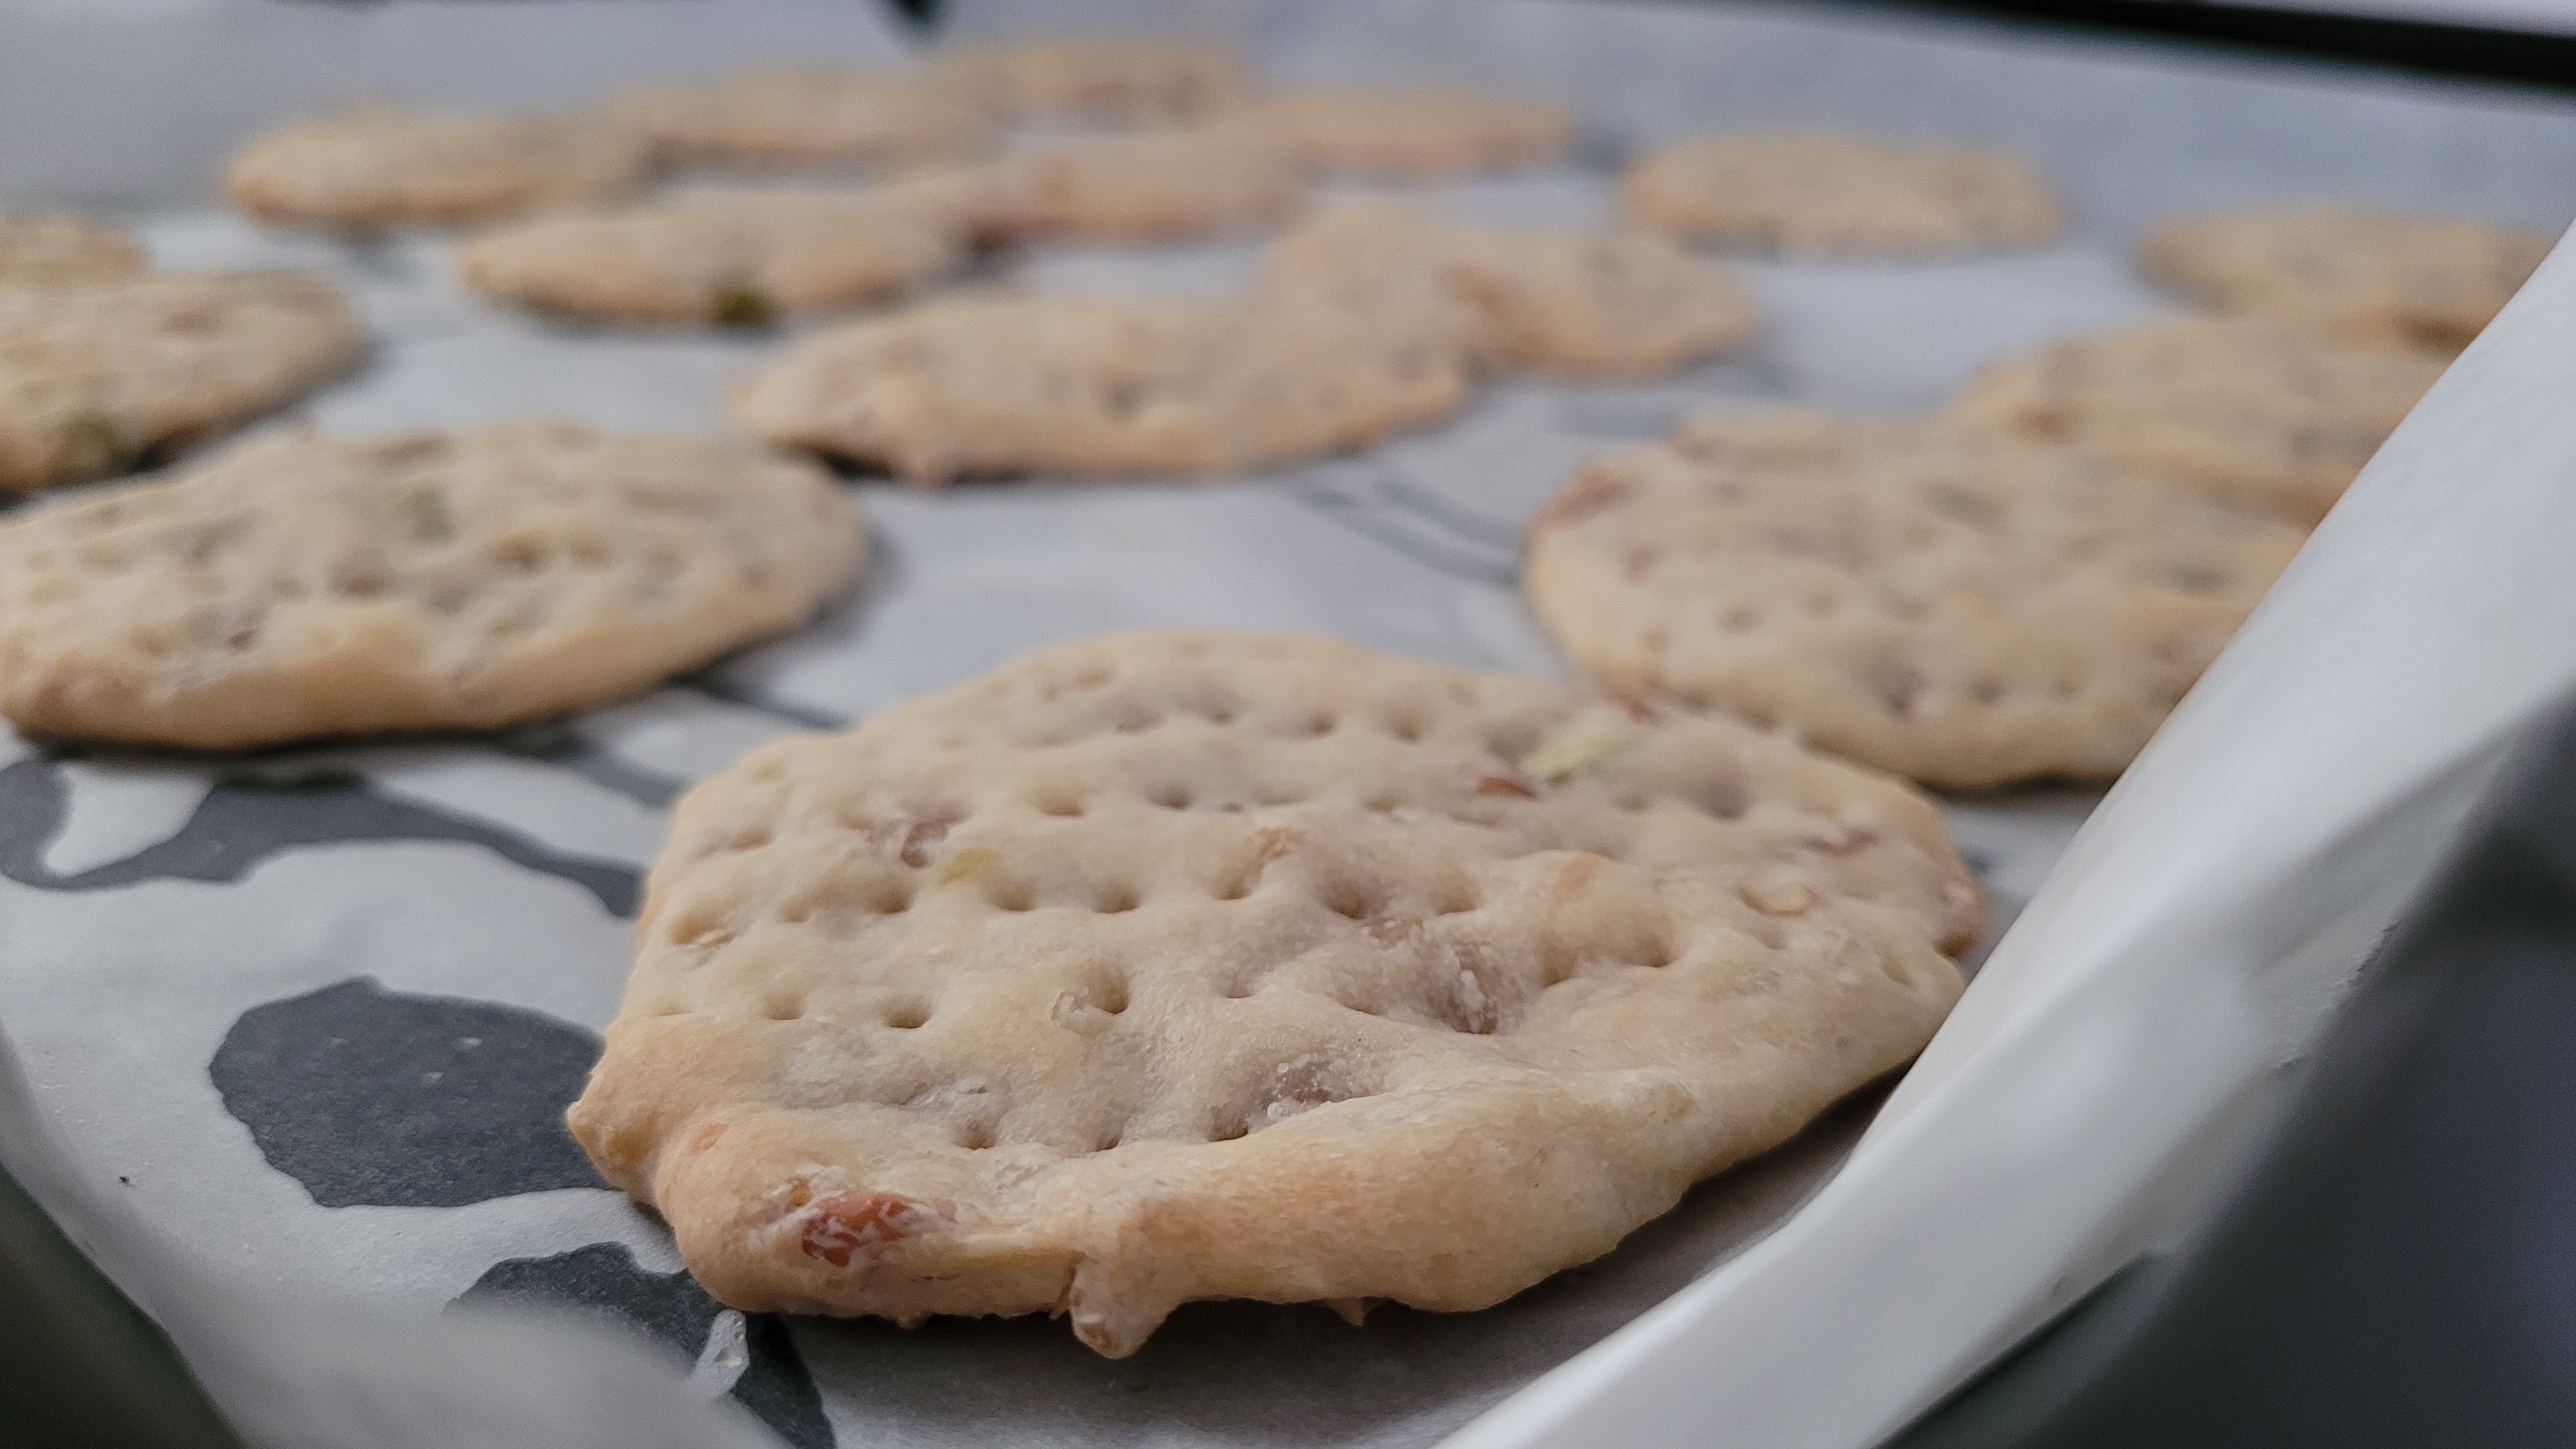
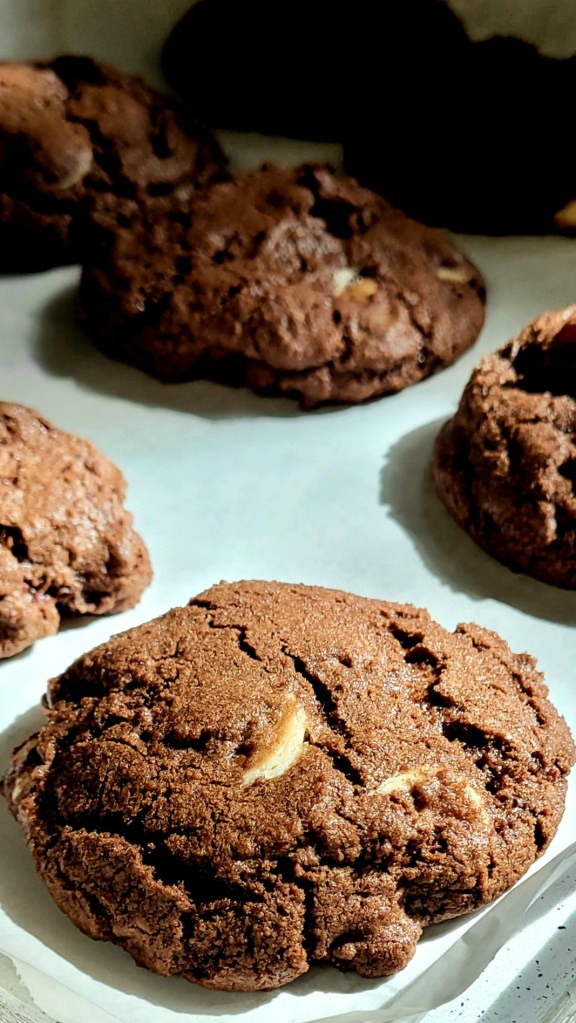
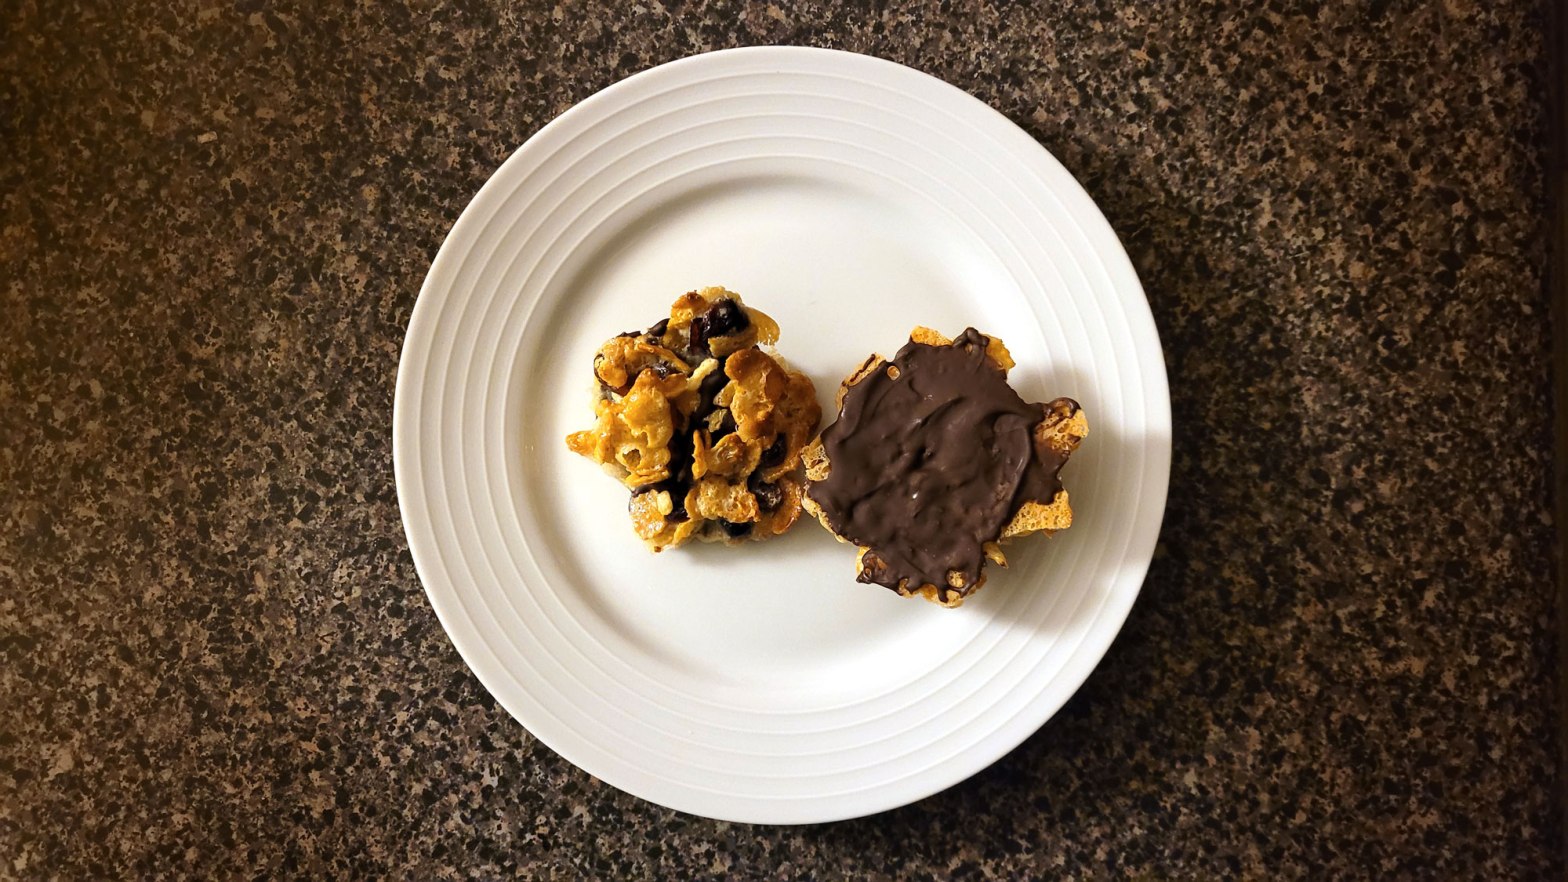
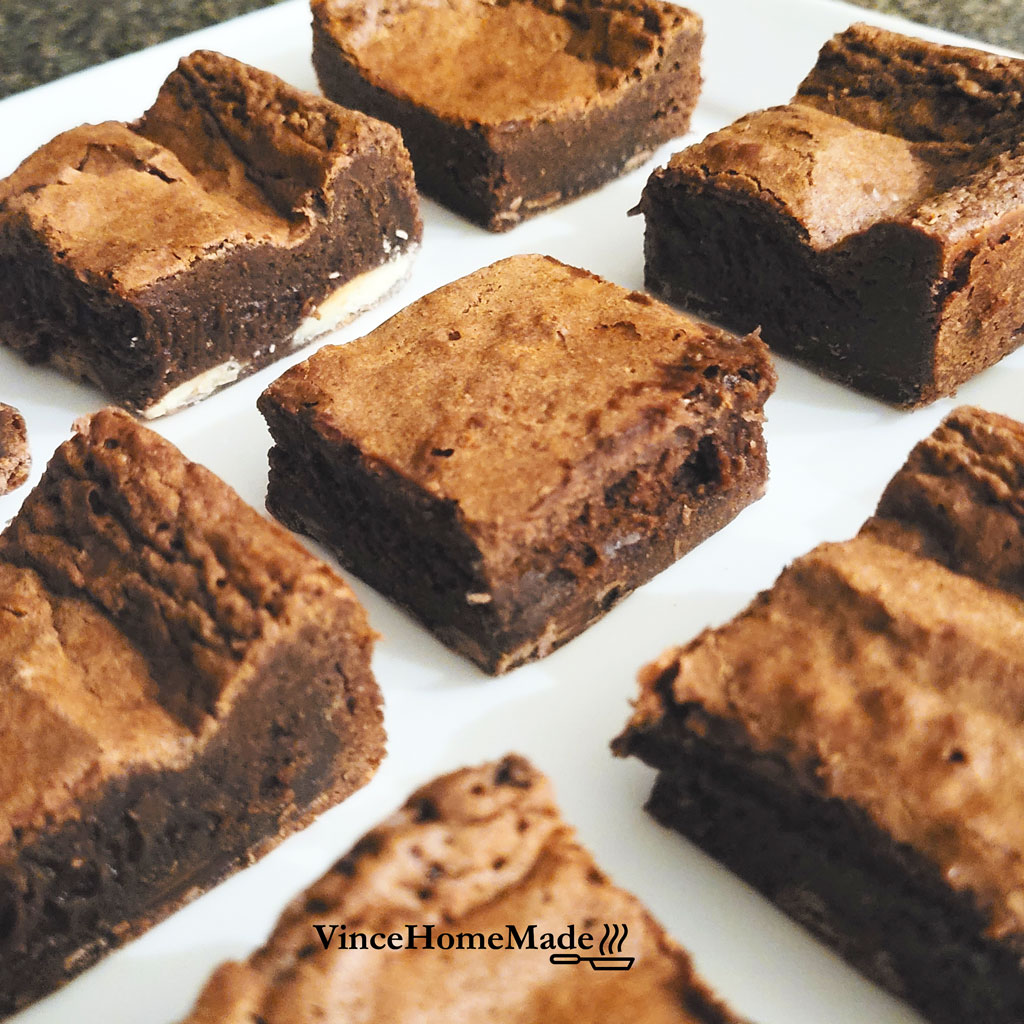
A crispy, chewy dog biscuit, which just might go well with cheese.
(Makes approximately 30)

Jump to Recipe

We made a decision on adopting Teddy, that our noodle-horse would get more than just ‘dog-food‘ wherever possible. We usually buy meat for human consumption, as the requirements and checks for safety are far higher, while ensuring our beast got proper dog-safe nutrition. I sometimes post on Teddy’s Instagram the meals we prepare and if there’s call for it, I will repost some here.

Anyway, I wanted to make something for Ted we could hand out as a treat, which would not be sugar or salt filled, have both a chewiness to it and crunch, be nutritionally good for him, also wasn’t expensive and preferably easy to make. It also had to be able to be stored for a reasonable amount of time at room temperature.

A whole tray of waffle biscuits ready to try

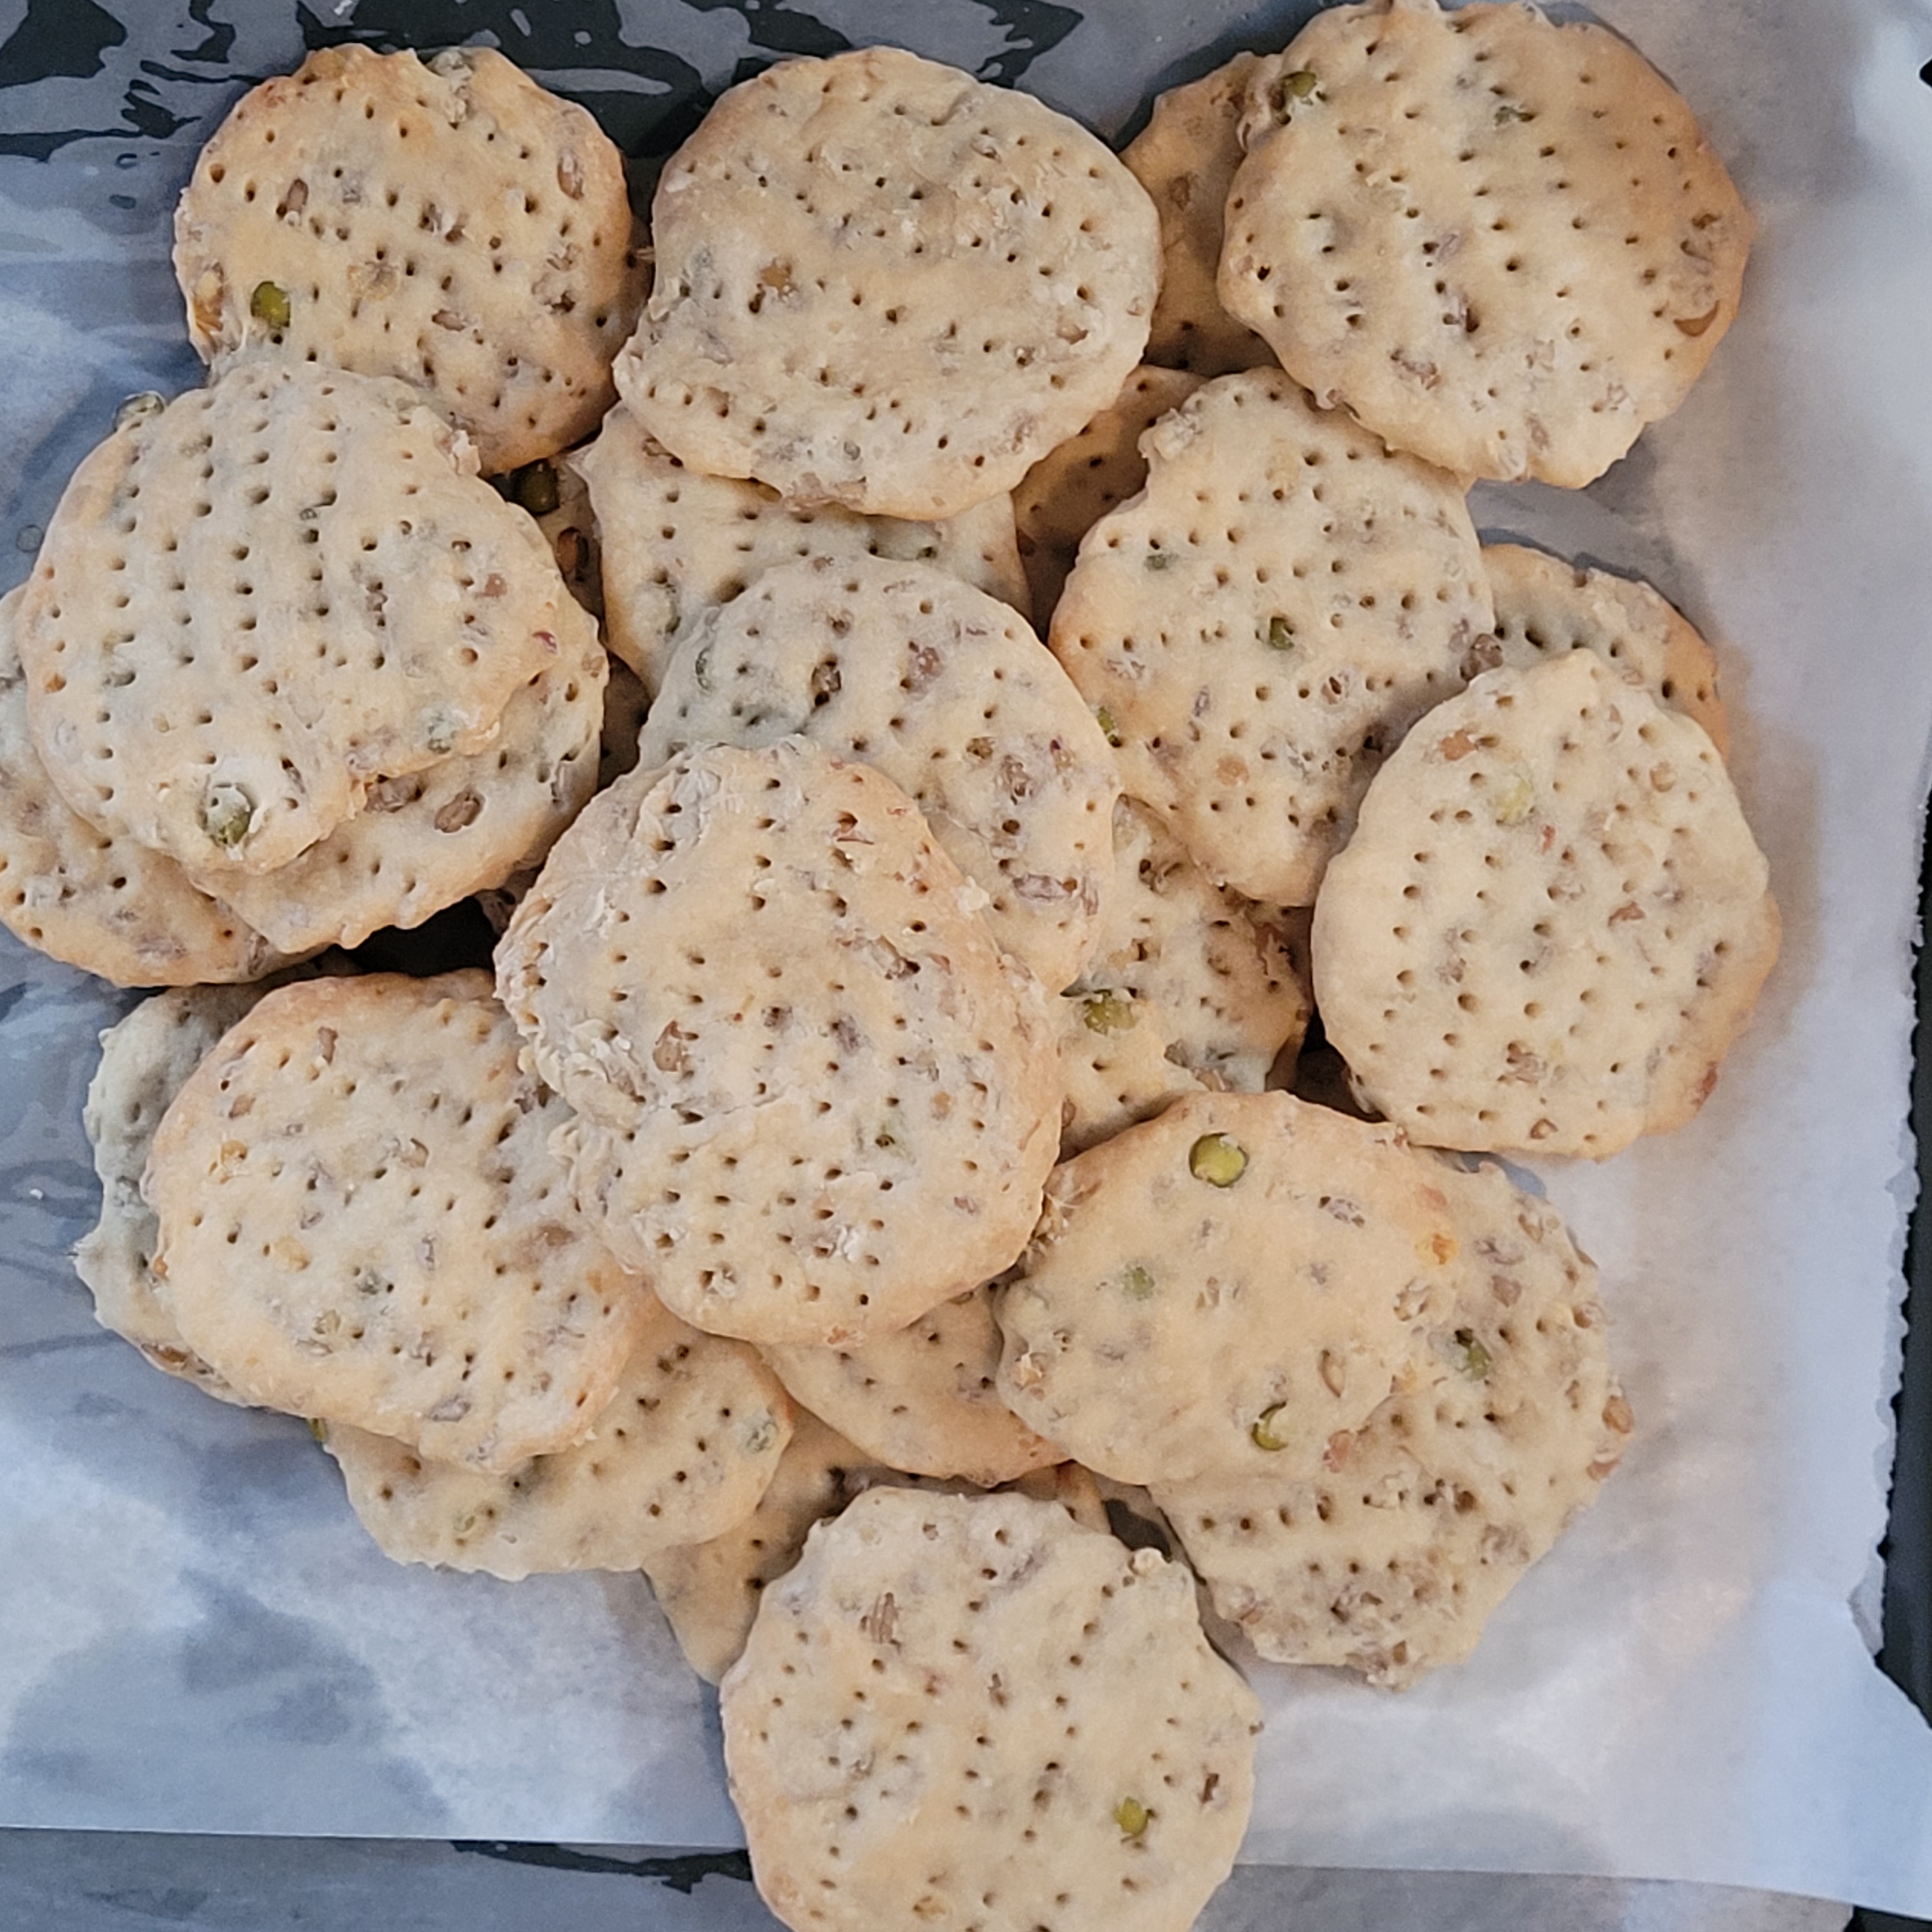
I messed around with a few things, and came up with these biscuits. Greyhounds are known to have delicate tummies, so the added lentils are great to help. The use of the rice and tapioca flour reduces gluten and increases the crispness to the outside and the chew to the inside.

The lentil mix I use is sometimes sold as “soup mix” a dehydrated blend of pearl barley, buckwheat, soybean, red and green lentils. I find this works really well and is easy to find in most supermarkets or independent food stores.

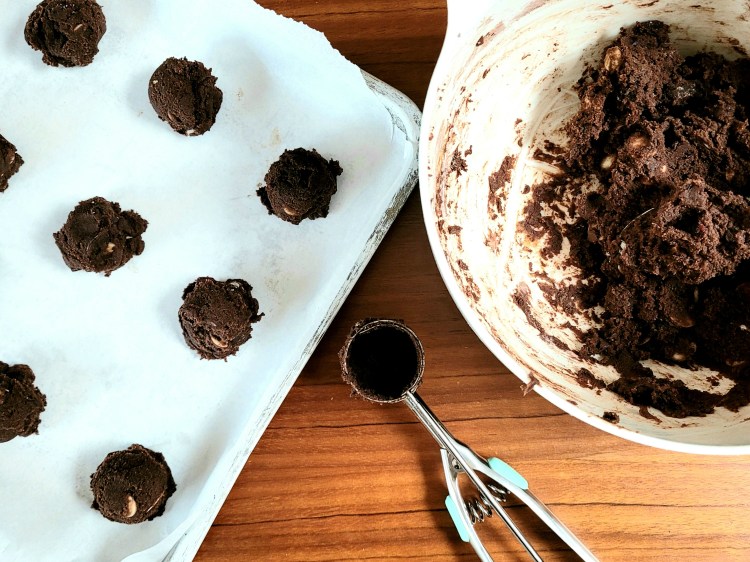
I make these large size as he is a large dog. If you have a smaller dog, and want to try them, you can either break up for them or make mini-cookies suitable for their smaller teeth. I would suggest keeping the lentils as they are to promote chewing, and thus saving your shoes, table-legs, books, etc from a similar fate.

Snapping one of the Lentil dog biscuits

Recipe

Ingredients

  • 100g – 3/4 cup “soup mix” lentils
  • 350g – 2 and 1/3 cups Plain flour
  • 50g – 1/3 cup Rice flour
  • 50g – 1/3 cup – Tapioca flour
  • 50g – 1/3 cup – Lard (beef dripping, tallow or bacon fat all work well in this as alternates)
  • 2g, pinch of salt

Method

  1. Soak the lentil mix in cold water overnight.
  2. Turn oven to 150°C, 300°F, Gas Mark 2, grease and line your biscuit baking trays, at least 2 will be needed.
  3. Put lentils into a pan and bring to boil, then simmer for 5 minutes. Allow to stand.
  4. Add all the other ingredients to a large bowl.
  5. Drain the lentils, reserving the cooking water , add both the lentils and 200ml – 3/4 cup of the hot cooking water to the mix.
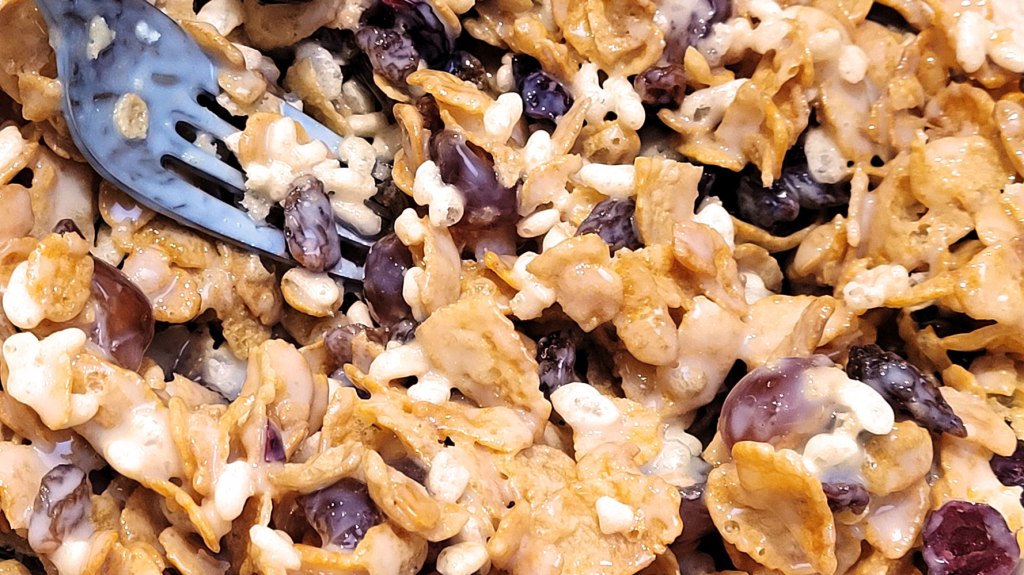
  6. Stir well. It will be a sticky lumpy mess at first, just ensure the flour is all combined into the dough.
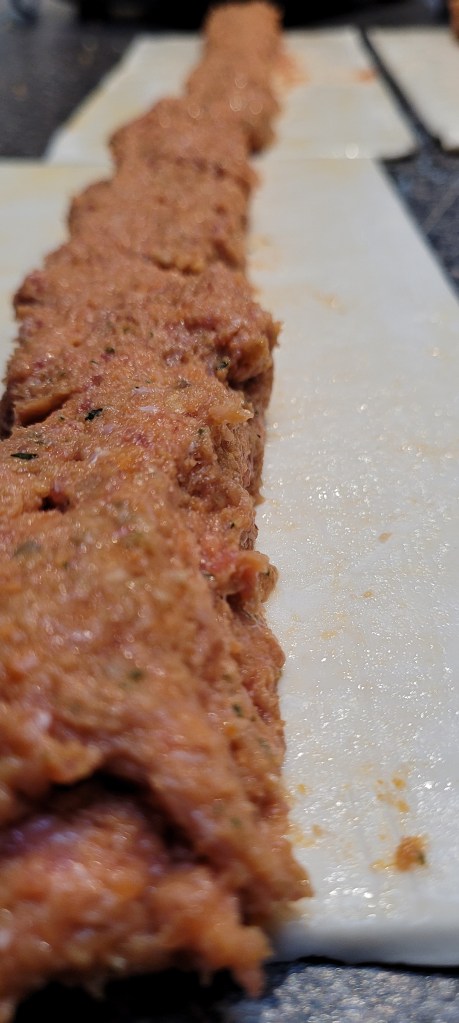
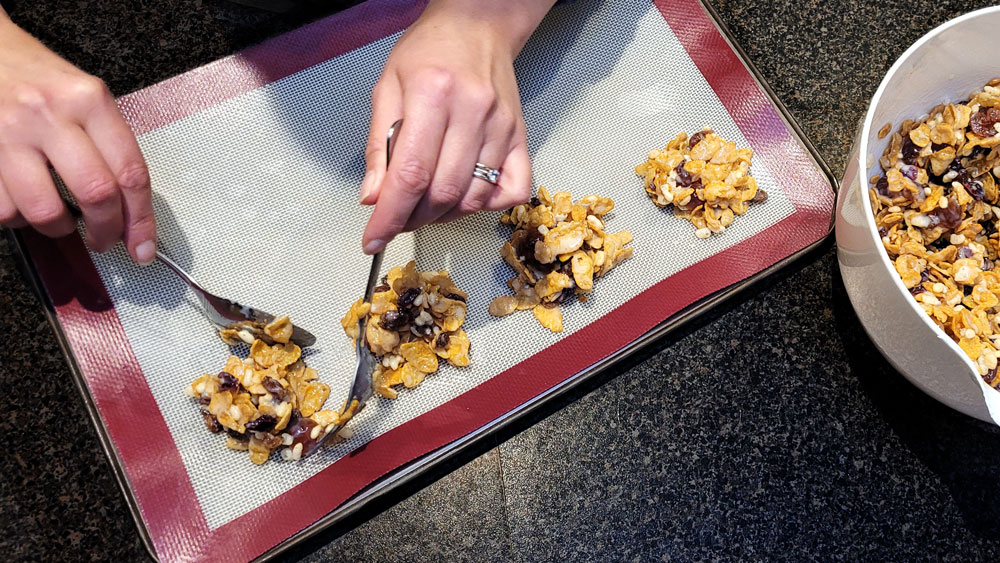
  7. Place 1 tablespoon blobs on the baking trays and flatten, leaving about 1 inch or 2cm all around each one. Prick with a fork to allow steam to escape and so the biscuit to crisp.
  8. Bake in the preheated oven for 20-25 minutes or until golden.
  9. Allow to cool on the tray. They can be stored in an airtight container in a cupboard for a few weeks, or in the refrigerator in warmer weather.

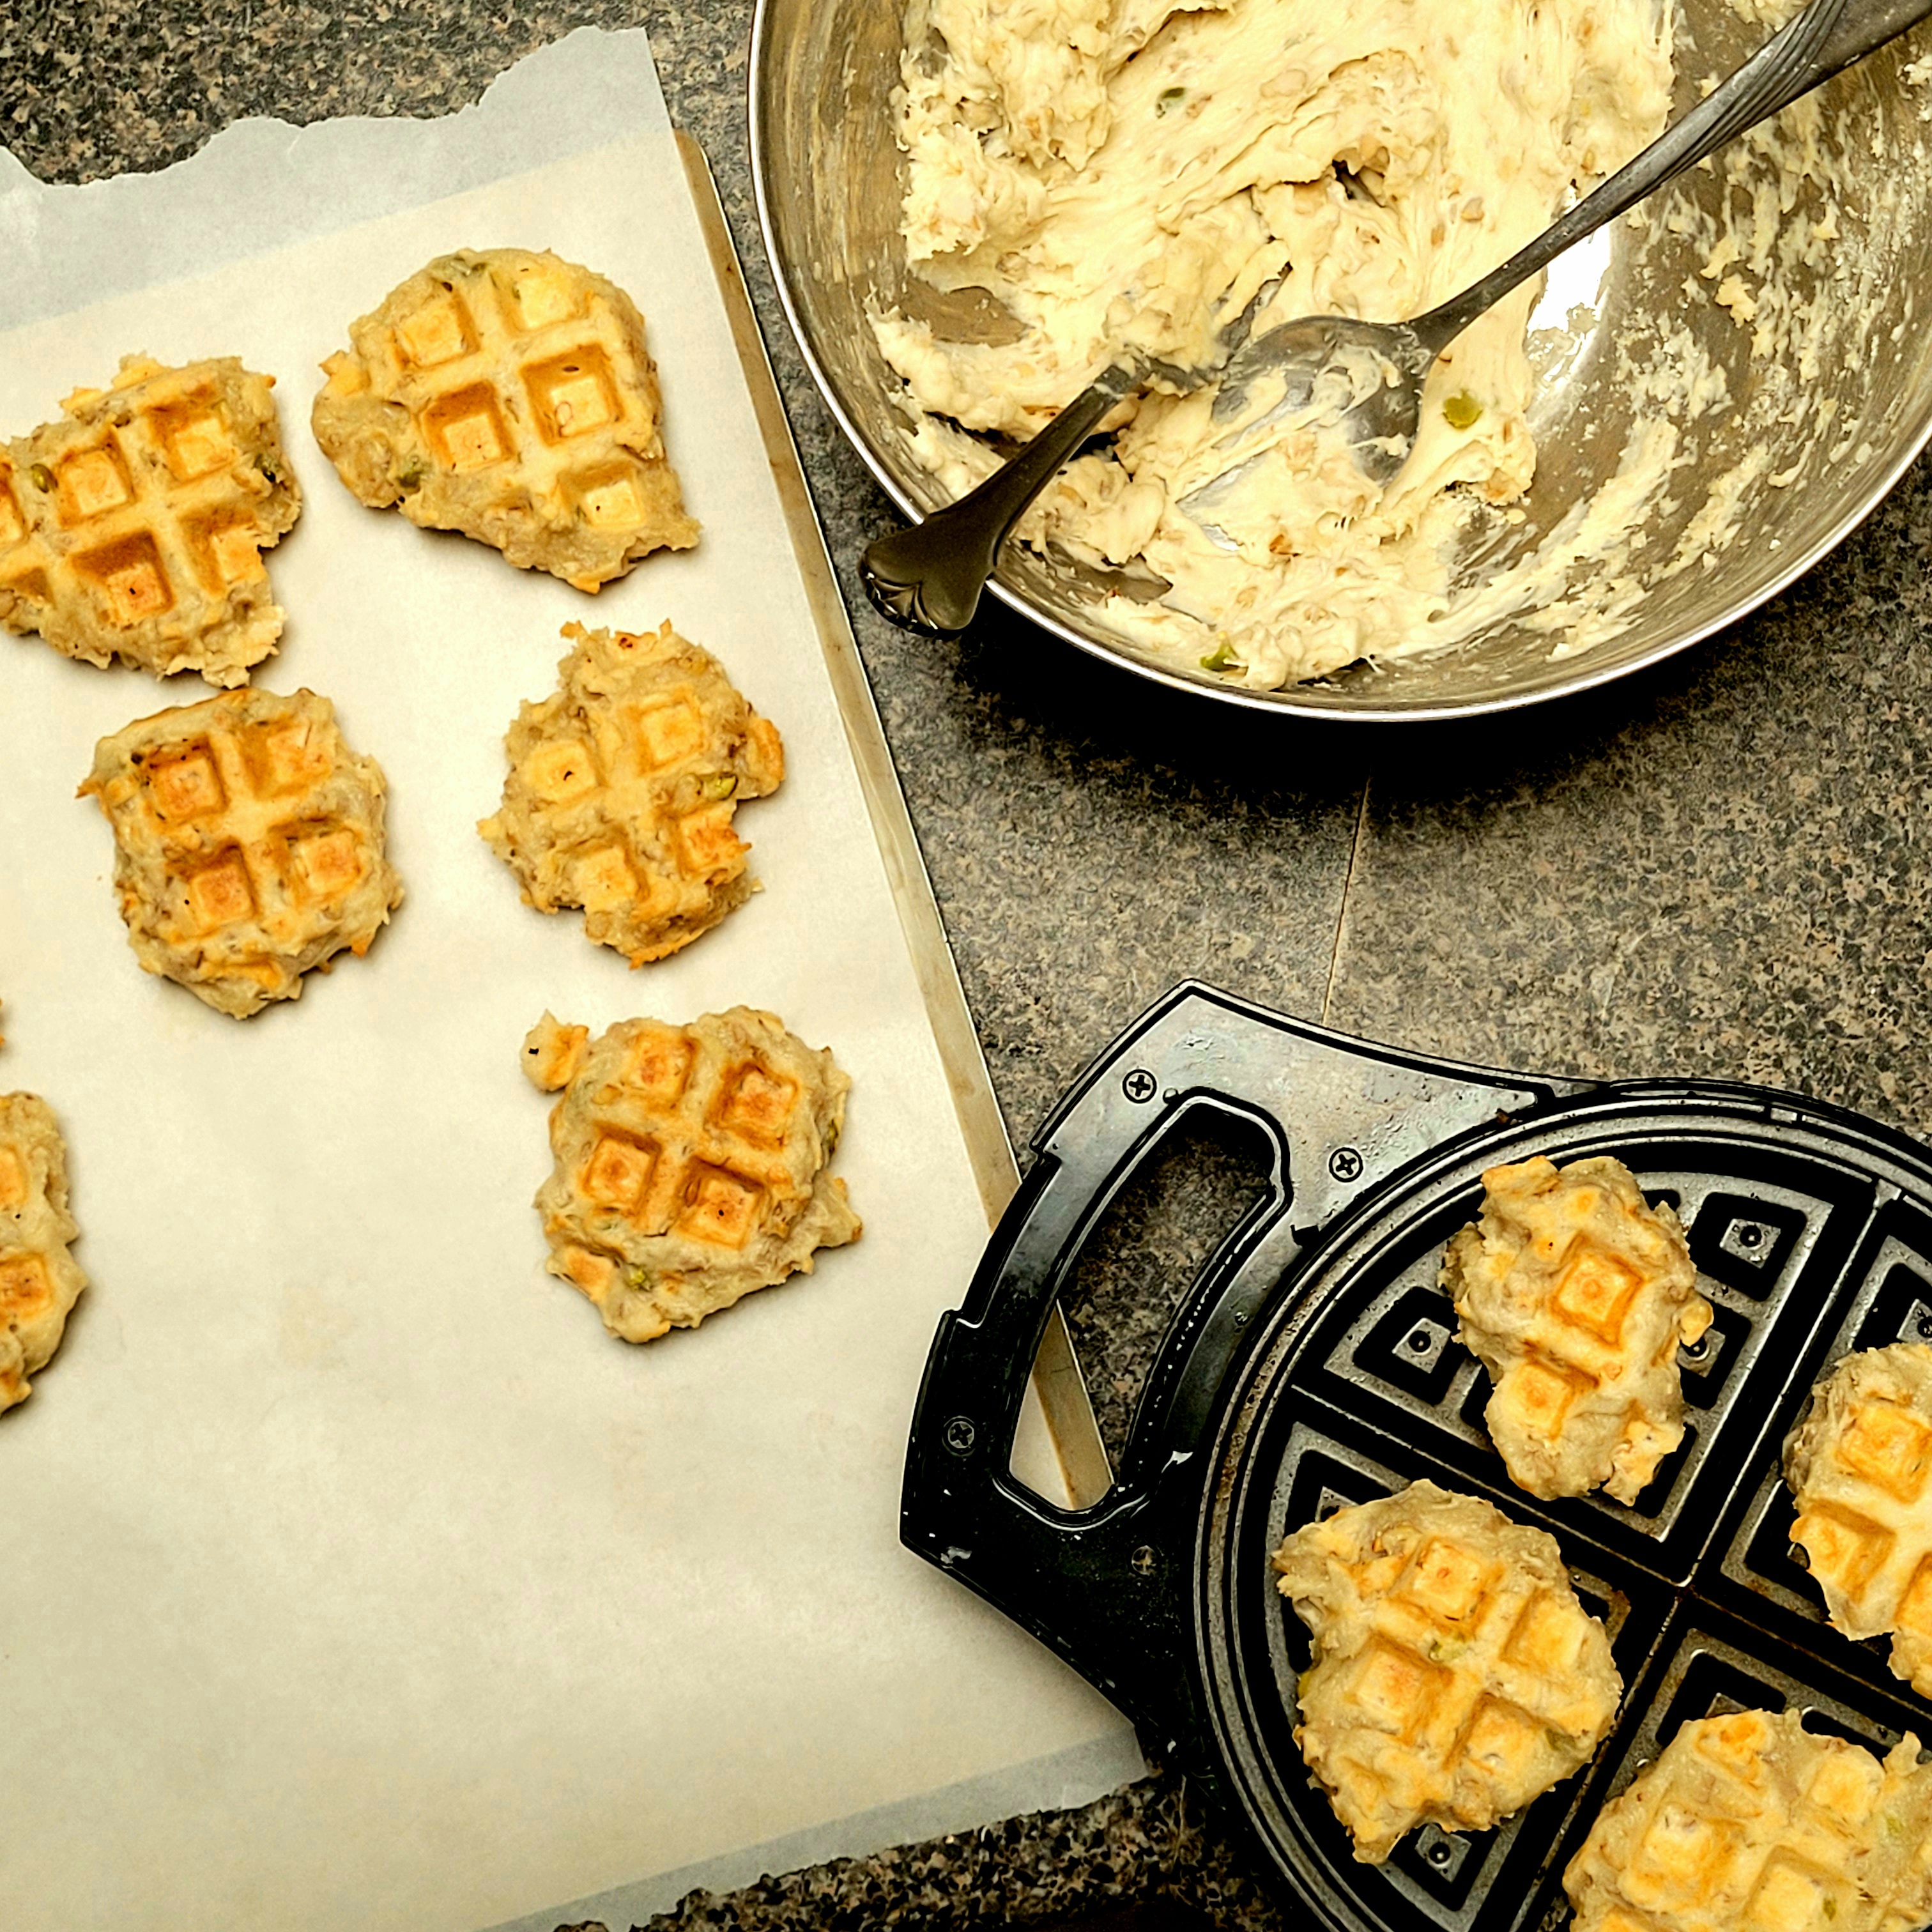
As you can see from the pictures, and the video, I also cooked some of the mix from a previous batch in the waffle iron. These worked really well, but took a long time to cook, so please be patient if you try it. I do know Teddy loved these, so I will have to make again.

Lastly, What’s this thing about cheese? Well I said we ensure Ted has high quality food, and we all know dogs love cheese but should not really have it, but please check the below video for context.

Needs Cheese – perhaps a Red Leicester or a Stilton

Chewy Chocolate Chip and Cranberry Cookies

It’s absolutely irresistible! A delicious chocolate chip cookie, with the perfect combination of crunch and silky smoothness. This mouthwatering creation was inspired by a recipe in a magazine that my wife altered to suit our preferences. She’s swapped sultanas for cranberries and omitted milk chocolate chips in preference for dark chocolate. We’re sure you’ll love this recipe as much as we do.

Jump to #recipe

Tips

As with all baking sessions, I strongly recommend to read the whole recipe, then gather all your ingredients and utensils before starting to bake. Realising mid-bake your favourite biscuit tray is in the freezer with sausage rolls, or the choc chips have all been eaten, results in real frustration, and possible need to go shopping mid bake.

Also, I like to have uniform sized cookies, to prevent arguments later, and use either scales or a small mechanical ice-cream scoop; the sort with a squeeze handle, that helps the spoon contents drop out. This tool is great but is not a requirement, I do find it is a good way to get the dough onto the tray quickly and with little fuss.

Ingredient tips

For this recipe, it is best to have all your ingredients at room temperature, the butter will be softer for mixing, and there us no temperature shock and mixture clumping as they combine. A better raw mix makes for easier baking, and a far better final product.

Butter , egg and brown sugar ready to be mixed

Plain flour or biscuit flour? Any white plain flour will be okay for this recipe, but as a general guide try to use flour with a 10% or less protein content, They are sometimes referred to as ‘Soft flour’. This covers all the basic plain supermarket flour, and so there is no need to start searching packets or going to go get ‘biscuit flour’ just for this bake. Bread flour has a higher protein content, usually over 11% and will work but give a different texture and not that crisp crunch. Whole wheat, or Whole grain flour will absorb more of the moisture from the egg and would need additional liquid to work (try a tablespoon of milk). Finally, if you use Self-raising, you will get some nice, but rather dry muffins.

I would suggest you really look at the wide choice of choc chips you use when baking. Many marked “suitable for baking” contain only miniscule percentages of the cocoa solids we are wanting for good flavour. Check the ingredients on the pack before you buy, and check the taste of the chips once the pack is open. I use dark and not milk choc chips as I find they are not too sweet, have little or no milk solids too. I sometimes use just a block of good quality choc and break into small pieces, the random edges and odd sizes add to the random combination of each bite.

Recipe

Ingredients

(Makes about 30 cookies)

  • 125g unsalted butter
  • 1 teaspoon Vanilla extract
  • 275g brown sugar
  • 1 Egg (large or extra large)
  • 185g White Plain Flour (biscuit flour if available)
  • 1 teaspoon Baking Powder
  • 35g Cocoa Powder
  • 85g Dried Cranberries
  • 85g White Chocolate Chips
  • 85g Dark Chocolate Chips
  • 2 g ( pinch) salt

Method

  • Preheat your oven to 160C, 325 F, Gas 3, grease and line at least 2 large baking trays with baking paper or silicon mats.
  • In a large bowl, combine the salt, sugar, butter and vanilla, careful not to overmix, but only to remove any clumps or lumps of either butter or sugar. it will still be grainy at this stage but that is okay.
  • Add the egg and beat again until smooth.
The butter and sugar mix before and then after the addition of the egg
  • Sift the flour, baking powder and cocoa into mix and add the chocolate chips and cranberries.
  • Mix well to ensure all the flour is combined into the dough, and not streaky or any dry parts. This will make sure the chips and cranberries are evenly distributed.
  • Place tablespoon amounts of dough onto the trays allow at least 5cm (2 inches) between each cookie. ( resist the urge to eat the cookie dough )
  • Bake in preheated oven for 9-10 minutes per tray.
  • Allow to cool for 5 minutes on the tray then transfer to a cooling rack to cool completely.

Old to new

So these steak knives are older than my kids. Picked up all those years ago for just a couple of dollars each, as part of a table setting when we had a family Christmas meal. I had recalled a previous event, where people complained for a sharp knife; to cut bread, spanokopita, cheese, meats or whatever. Hence their purchase so to allow our guest to at least enjoy their meal unencumbered.

Anyway, moving forward a decade or so and innumerable trips through the dishwasher had removed their cheap flaky varnish to leave the wood bleached bare, a dull grey and open to bacteria.

Therefore, with little else to do in lockdown, I got the food grade varnish out. This stuff is usually for worktops and chopping boards, and I have used for just that, so knew it would be safe.

It did not take long to dip and brush the excess off each one. Perhaps 5 minutes total. A quick wipe of the blades with kerosene to remove drips, and then allowed to air dry outside for a day.

I repeated the process the next day, and allowed 2 days to really allow the varnish to dry. A hand wash to clean and they came up great.

I love the result! In less time than it took to write this post, they look better than new, and it turns out there’s actually two sorts of wood here!

The dark red which is similar to an Australian RedGum, and the blonde-ish is close to an oak. If you know the actual wood used, please leave a comment below.

Now I would not reccommend doing this with your wooden stirring spoons, as the varnish would leach into your boiling pot of marinara, apple sauce or katsu curry. But for any knife handles or other handles not subject to high temps or acidic /alkaline enviroments, this is a real change for the better and will protect the wood from damage or splitting and so you (anf your food) from splinters.

Plus, as the picture below shows, don’t they look just so much better.

Puff Pastry Sausage rolls

This is just a quick post about one of my all time favourite foods, the sausage roll. If you have no idea what a “sausage roll” is, then I would ask you to please read on.

Hot Beef Sausage roll, straight from the oven

A traditional British savoury snack, dating back long before the equivalent of the US hotdog. The bun is instead pastry, the filling is sausage meat, and once baked is generally served hot, but are equally tasty cold.

The recipe is simple enough, and is one that readily lends itself to interpretation, amendment and change. I will not claim this to be the best recipe, but I will claim that these are the absolute bestest I have made this week. What I like about this recipe is the ease it comes together, requiring only vague measurements. There is no need to stress over a little extra of this or that here.

The pastry I used is the pre-made, pre-rolled, frozen variety available in any supermarket, and the filling is made in the food processor, so is also convenient for those wary of their knife skills.

The pastry used is usually puff, but a shortcrust works really well, which was how my mum would make them. The sausage filling is limited only by your options for available sausages or sausage meat. Even no-meat vegan sausages make good sausage rolls. in this instance for the photos I used a beef sausage mix.

For the filling you will need about 500g or 1lb of good quality raw sausage meat. Usually this would be beef, but may be pork, lamb or a combination. The meat can be either bought as a lump, or you can buy some raw sausages and squeeze the filling from the casing. The latter is a little messy but can certainly expand your options on flavour.

If you are buying from a good butcher, they will make their own sausages, so may have some sausage meat in the flavour you want in their cold storeroom. It is therefore worth an ask what they have, and what is in it. The conversation with them may add further ideas and will only improve the final quality.

NOTE – This recipe includes Carrot as well, and just like the argument of so many ingredients to so many dishes, ( Pineapple pizza) it is a personal taste, not a rule. If you wish to make these but want to leave the carrot out as its ‘wrong’ by all means do so.

ALSO NOTE – there is no added salt to this recipe! Sausages are usually full of salt, so there is no need for more.

Recipe

Ingredients

MetricImperialItem
4 sheets
30 cm by 30 cm
4 sheets
12 inch x 12 inch
Puff pastry sheets – the pre -rolled and frozen type
(defrost them before starting)
500g1 lbSausage meat – as per notes above
11Small to Medium Onion
11Large Carrot
22Slices of bread – or 100g – 1 cup Breadcrumbs
20ml1 TablespoonTomato ketchup/sauce – the stuff that goes on hotdogs
5g1 TeaspoonDried thyme – Fresh if you have it
11Egg – for glazing the pastry
Ingredients

Method

Step 7  forming the sausage filling
Step 7 forming the sausage filling
  1. Turn oven on to 200C, 400F Gas Mark 6 , grease two baking trays and line with baking paper.
  2. Peel and roughly chop onion, and place in bowl of food processor
  3. Rip up the bread, and add to bowl with the ketchup and herbs.
  4. Blend, blend, blend . The consistency should be fairly smooth with no big lumps.
  5. Peel and grate the carrot directly into the bowl, and add the meat and blend briefly to combine.
  6. Lay out the pastry and cut each sheet in half so to make to equal rectangles
  7. [I suggest wearing kitchen gloves for the next bit] Divide the mix into eight roughly even lumps and form into a long cylinder along the centre of the pastry. Repeat for all 8 rectangles.
  8. Crack the egg into a bowl and add a few drops of water, and lightly mix
  9. Brush the egg onto the pastry on either side of the meat , then roll the pastry from one side over the meat to the other
  10. Cut the rolls into half for large rolls, half again (1/4) for small rolls, or half again (1/8) for cocktail rolls. Place pastry seam side down on the prepared trays with space around each one.
  11. Brush the top with the egg and bake in the preheated Moderate hot oven at 200C 400F Gas Mark 6 for 30 to 35 minutes depending on your oven.
  12. Try not to eat then straight away, but allow to cool for at least five minutes on the tray.
  13. If you have any left once cold, they should be stored in the refrigerator and will last 4 days.
Fresh baked and delicious – a hot sausage roll

Coffee? Tea? Neither? Both?

Hi all,

I have created a support page on the great site “buy me a coffee” so as to help you help me produce better posts, promote learning and using of great ingredients, and of course providing recipes for classic dishes with my own spin.

Oh and of course allow my random musings to flow.

The link is below, and if one day we meet, you know I’ll return the favour!

https://www.buymeacoffee.com/VinceHomeMade

Thank you all

Kathy’s No-Added-Nuts Florentines

This is not my recipe, but a family fave made by my wife, Kathy. She started with a recipe from a book and then changed things around as she felt fit and thus created her own. Please let me know if you like or even try this, and I will be sure to tell her.

Dark Choc Florentines

Jump to Recipe

Florentines are classically made with flaked almonds, and for years Kathy had made them that way. Then our youngest was diagnosed as nut-allergic about 5 years ago, and so all the nut based recipes were stopped.

As these are always a favourite at family events, Kathy ingeniously replaced the nuts with a combination of cornflakes and rice bubbles and the world was good.

The recipe was further tweaked to swap out the classic sultanas for dried cranberries once at Christmas, and the difference is amazing. The sweet/sour cranberry taste jumps out and we have never gone back.

Chocolate

The bases of the Florentines are covered in chocolate as a finishing touch. I have not listed the type of chocolate, as you can decide per your own preference. What is important is you need to ensure you use a bar of regular chocolate you would normally enjoy to eat and not a cooking chocolate, or it will affect the final taste.

We usually have a combination of florentines with a good dark chocolate, some with milk chocolate and some with a white milky chocolate. This combo looks particularly good if you intend to have these on a platter to share, or in a gift box.

Also if you want this to be totally nut free there are nut -free chocolates out there which would be great to use.

Condensed Milk

Finally, one of the best parts of the making is the fact tins of condensed milk are sold in larger size than required here, the extra we usually have simply on bread, or stirred into a cuppa and is it oh sooo good !

Recipe

Yield – 40-45 tiny, or 30 small, or 20 larger size

Ingredients

Metric US Imperial Ingredients
120g ¾ Cup Dried Cranberries
90g 2 ¼ Cups Cornflakes
20g ½ Cup Rice Bubbles – Puffed Rice
110g ½ Cup Glace Cherries
160ml ¾ Cup Sweetened Condensed Milk
120g 1 Cup Chocolate – See notes on #Chocolate
Ingredients
Mixing the ingredients

Method

  • Preheat your oven to 160°C, 325°F, Gas Mark 3
  • Cut the Cherries in half and put into a large bowl with Dried Cranberries, Cornflakes, Rice Bubbles and Condensed Milk, mix well to combine.
  • Prepare oiled and baking-paper lined trays, allowing 12 biscuits per tray. Silicone baking mats are great for this as they can be slid on and off the trays as required.
  • Place heaped spoonfuls of mixture neatly and with a gap of 5-6cm or 2 inches around each Florentine on the tray. Ensure that the mixture is neatly piled into a circle with no loose pieces, as they retain their shape when baking.
    • For tiny ones use a single teaspoon of mix
    • For medium size use a single dessert spoon, spread to 3cm or just over an inch round
    • For larger ones use 2 dessert spoons, spread to around 5cm or 2 inches round
  • Bake for 6 minutes or until light golden brown, be careful not to overcook especially if making smaller ones.
  • Allow to cool completely on the tray
  • Melt the chocolate, and spread on the base of each Florentine.
  • Allow to set at room temperature.
Spacing the Florentines on a silicone mat

Storage

In a sealed container, these will last for only a couple of days at room temp, or can be stored for about a week in the refrigerator.

Variations

Try adding a tablespoon of finely diced, uncrystallised ginger pieces to the mix for a bit of zing.

Ravioli Puttenesca

Jump to recipe

My eldest’s favourite pasta is beef ravioli, the one from the supermarket in the chilled section marked ‘Fresh’. It is such a common addition to our home menu we usually have at least one packet in the freezer for those days when its all too hard and still need to feed everyone.

This time around I fancied something more than the regular marinara sauce or even the extra-lazy jar of premade sauce from the emergency supply. With that in mind, and after a rumage around in the fridge and cupboard, I was able to gather some olives, capers and anchovies, as well as the jar of passata and the other ingredients below and so the classic Puttenesca sauce came to mind.

Now there are stories on the internet and elsewhere about the name Puttanesca for this sauce, I have read a few and seen alsorts of reasons for a tomato based pasta sauce being named after a ‘lady of the night’, none of which I really care about, though do make good conversation while you enjoy the pasta.

Just like Sports teams or pubs in England, or if you look at the names of foods they are all in an apparent haphazard manner, but made perfect sense to the person that named them. Some names are complex, others obvious, some don’t try at all. Using the sport team analogy and comparing to food a few examples-

  • Grimsby Town Football Club – UK Soccer
    • Near zero effort in naming, but tells you where they are from and what they are, even if their ‘home ground’ is actually in the town next door.
    • The food equivalant in this naming type would be perhaps “Lincolnshire sausage” for place name, or simply “fish and chips” for a simple yet clear name.
  • San Francisco 49ers – US NFL
    • What on earth is a 49er, sounds weird and possibly a little suspect, it actually relates to the period of the Gold rush of 1849 and the prospectors that travelled to the city.
    • The Food Equivalent of naming after people would be thanks to Chef Escoffier and Dame Nellie Melba, the opera singer that has the distinction of two dishes to her name ” Peach Melba” and “Melba toast”.
  • Brisbane Lions – Australian Rules Football
    • Play with a lion emblem on their tops, yet there are no lions in Australia outside of zoos and wildlife parks! Why not a Dingo or Wombat?
    • Food equivalent has to be something like “Buffalo wings” which are confusingly named after the place Buffalo not the large herbivore.

A digression to sport is unlike me, but I hope you understand the attempted point. I never liked standing in just shorts and a t-shirt in winter, covered in mud, while a heavy, wet leather ball is kicked at me, with some vague expectation and intention of me doing something with it. I considered bursting it, so we could go inside, more than once. Only knowing that that would invoke the ‘cross country run’ and 10 miles mud to the far side of beyond. No thanks! And don’t get me started on ‘spectator sports’

So back to the food. This is a quick and low effort sauce and as far as taste goes packs a punch well above you might otherwise expect. The anchovies are optional, and if you wish to use on plain pasta, or vegetarian filled pasta, go right ahead, its all good.

Recipe

Ingredients – for upto 4 serves

500g Store bought fresh Ravioli
300ml Passata or a tin of diced tomatoes will work too
3 tablesp Baby capers ( go heaped I did)
1 dozen Olives – I had big dark Kalamata, but whatever you have will be fine
3-4 anchovies ( optional, but worth it)
1 large tomato
A few green beans
1 teaspoon balsamic vinegar
1/2 teaspoon sugar – basically a sprinkle
a garlic clove or two – preminced/puree is fine as is the dried stuff if that’s all you have.
about a teaspoon each of Basil and Oregano,
1/2 teaspoon of dried Chili flakes
1 tablesp olive oil
salt & pepper
Grated cheese for garnish
Bread to wipe the plates

Method

  • Put a large pan 3/4 full of water on the stove to boil for the pasta, add a good amount of salt, roughly 1 teaspoon per litre. A lid on top will have it boiling faster.
  • Drain the olives and capers, the olives can have the stone removed at this stage, but I prefer to keep them in so they don’t break up.
  • Quarter, de-seed and dice the tomato
  • Chop the green beans into short pieces
  • Peel and chop the garlic ifnot already prepared
  • To a saucepan on medium heat, add first the olive oil, then add the olives, garlic, capers, and dried chilli and stir to warm through.
  • Add the diced tomato, herbs and then pour in the passata, stir occasionally but do not allow to boil.
  • By now the water will be boiling, add the pasta and cook according to directions on the pack, usually 5-7 minutes.
  • Add the balsamic vinegar and half the sugar to the sauce, stir in again, then add the green beans.
  • Check the seasoning to the sauce and adjust with the salt, pepper and possibly more sugar, depending on the tomato acidity and preference.
  • Lift the pasta with a slotted spoon or ‘spyder’ directly into the sauce, stir quickly and serve immediately.
  • Have that grated cheesse and bread ready you will be mopping that sauce in no time

Let me know if you like this, hate it or want to provide large sums of money to me.

Cheers,

VinceHomeMade

Hot-Dog Coleslaw

Sometimes you just have to bend and serve junk food at home. At least the kids will eat it!

Straight to recipe

We all have a preference when it comes to how or what constitutes the “right” way for a hot dog. Whether its tomato ketchup or no-ketchup (Chicago); what sort of mustard – American, wholegrain, French, German, hot English; what sort of sausage -pork, beef, mystery meat or vegan. What sort of bun, crispy baguette, soft white roll, single slice of bread folded over (the Aussie way) or no bread at all. Even to how the roll is opened to put the sausage.

I once had a poster of the ‘World’s hotdogs” and the familiar shape was just one of 40 or so variants. If I can find it again, I will perhaps make a few of the more interesting ones in future posts.

However, that discussion I will save for another time. This post is merely about a recent hotdog as seen above and specifically the coleslaw I paired with it. Note this was far from a high cuisine meal, but a “Keep the kids happy as we rush from work” special.

Firstly the sausage and roll were just the regular supermarket home brand, nothing fancy and were they not my kids’ favourite, I would perhaps steer clear. I heated a grill pan in the oven at 210C, and baked the sausages for 8 mins, turn and 8 mins more, then served immediately. The hot chips (fries) were the frozen oven type and baked in the oven with the sausages.

With roughly quarter of an hour to prepare the rest, I split the bread rolls along the top, only three-quarters through, so the filling is not lost, and also so it can be seen and presents well. A side sliced bun in my opinion turns this into a sandwich.

So to the coleslaw. No exact measurements, for this as it was a throw together thing, use your best judgement and personal taste to guide you if you wish to make it at home.

Recipe

1/4 head Red Cabbage
1 Carrot
100g hard cheese – I used an Australian cheese similar to Cheddar
1/2 a red onion
2 tablespoon mayonnaise
1/2 teaspoon Dijon mustard
Salt and pepper

  • Remove the hard core from the cabbage by cutting the white triangle shape of the root with a good knife.
  • Take the outer few leaves and lay on the chopping board, and shred fairly thin, to around 2mm each slice and place in a large bowl.
    • repeat with the inner leaves, being careful as there will be thicker sections to shred.
  • Peel and finely slice the onion, and add to the cabbage
  • Wash and grate the carrot (no need to peel) directly into the same bowl
  • Grate the cheese and add about half along with the mustard, mayo and then mix well.
    • Depending on the size of the cabbage and carrot, as well as personal preference, you may need more mayo. Though I recommend not too much as it will become messy in the Hotdog.
  • Check the seasoning, and then construct the hotdog
  • into the open bun, place the sausage, some of the slaw, then add more grated cheese and in my preference both tomato ketchup and American mustard
  • Serve with the chips and enjoy

Well I have done it now !

A shaky 1992 picture of me at the "Lanes Restaurant " buffet
A shaky 1992 picture of me at the “Lanes Restaurant ” buffet

This week I transferred my webpage from GoDaddy to WordPress to make the blog and page editing easier to work with. This is going to be a big old learning curve and looking forward to the challenge.

I would like to thank the many bloggers I follow and read for suggesting the move, as I can immediately see just from bashing this on my keyboard the difference in the editing tools.

GoDaddy was a good place to learn what I was doing as i created and learnt what I needed to as my business started. It was cheap, which is great for a start-up, had the basics and several functions and tools I did not really explore. Now I have a better idea of what I want, it only makes sense to move to the tool everyone else is using.

Anyway, what is the business going to look like? what am I going to do? and will the shop reopen for the biscuits and things? The short answer, I have no idea!

In the coming days, as I work out what button does what, how to get A to do this or B to do that, I will also be loading content, partly to keep the momentum, partly to fill this empty space, and partly to learn how the functionality works.

I will be building the food blog, the store, the private booking tools, blog, vid links and who knows what else in the coming days, weeks and months. If you have any suggestions, help, criticisms comments or praise, please get in touch, thanks.

So far, the priorities from the long list of processes I need to do are

  • Interlink this edit function with MS Word ? maybe, maybe not
  • Have an offline list of blog items to create, edit and queue up in the scheduler
    ( Why does “The Scheduler” sound like a villain from a comic book)
  • Edit and resize all the photos and videos I need.
  • Link to the rest of my socials media empire ( hardly an empire not even a blip haha)

Until then, its time to run off and attend to some real world issues, the washing machine to empty, go make dinner before I make this list too long, have a cuppa.

Cheers for now !