This particular recipe is another amended from the classic Mrs Beeton’s, one of my favourite classic cookbooks. I have adjusted the quantities, as once made, this stuff goes quickly.
When we moved to our home in 2003, we planted a lemon tree in the backyard. we were hopeful for fruit but is was several years before we got any. The tree suffered 10 years of severe drought, and my poor but persistent gardening skills. And only in the last couple of years has it really been fruiting. so much so I have even been donating fruit to passers by to our driveway.
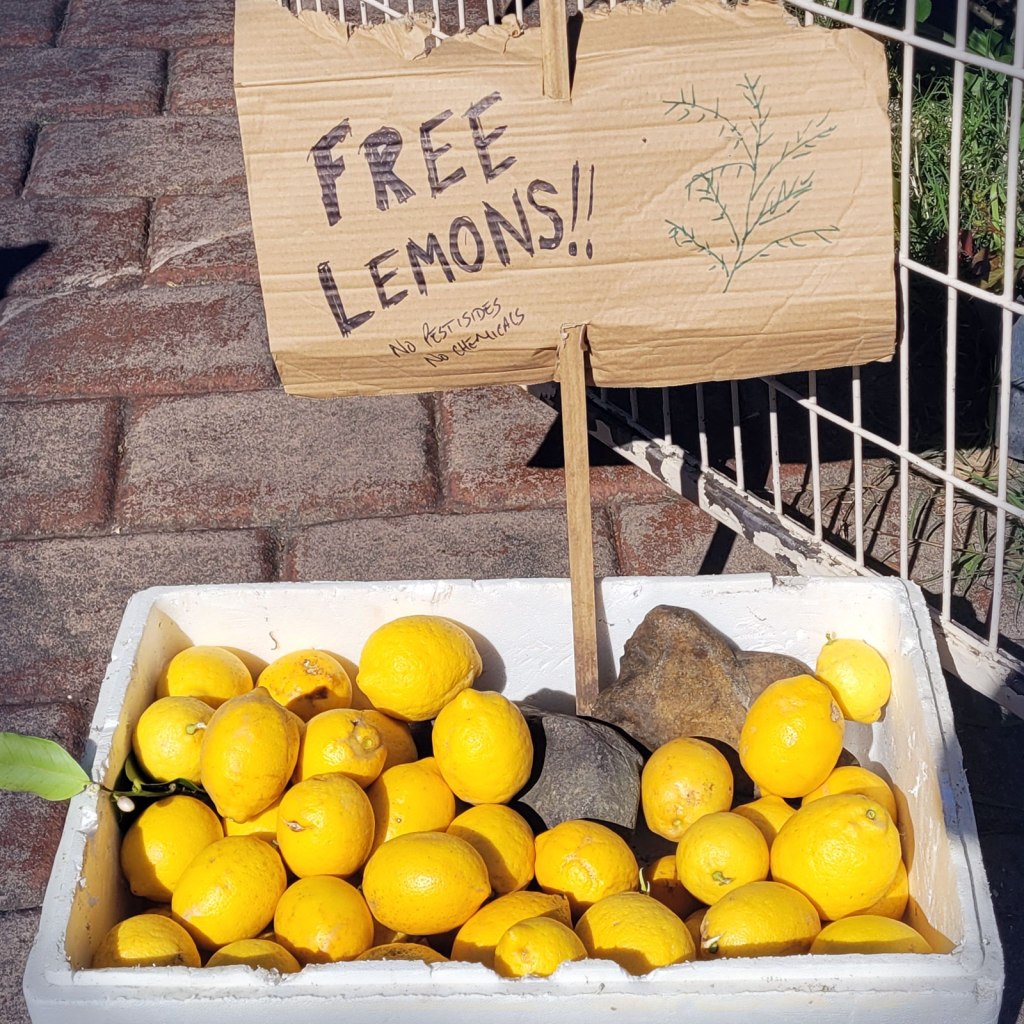
If you don’t have a spare 18 years to wait for a tree to grow, shop bought lemons are perfectly fine for this recipe.
Notes
Having made this a few times there are a few things to bear in mind before you dive in and start making.
The recipe makes about 1 to 1.2 litres (3.5 – 4 cups) of liquid curd, that will need to be safely stored for later. I prepare 6 x 300ml glass jars and lids, for a total of 1.8 litres. If you have larger or smaller jars or even a combination; it doesn’t matter, just make sure you over estimate the final volume and prepare accordingly. I do this so that I then know I won’t be scrambling at the end to clean and sterilise an extra jar or two.
As with all baking and cooking, if you only have salted butter, it will still work, but not be as sweet tasting. If you only have margarine, my sympathies.
Finally, remember to relax into the process to be rewarded. Be aware this takes a while, don’t try to rush it or you will get lemon-sugar flavoured scrambled eggs, or some runny yellow ooze. DO NOT look at social media, the TV or something else to distract you, most certainly don’t try to cook other things. The stirring of curds once the eggs are added will need for full attention for around 10 minutes until it is off the heat and in the jars.
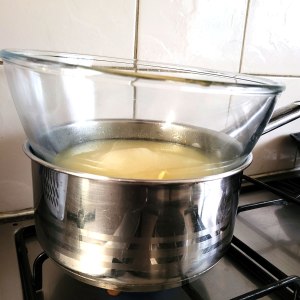
The set-up – a “Bain-Marie”
The curd is cooked in a ‘bain-marie’ a hot bath of water, kept just below boiling (around 75-80°C) to allow a low even heat, that will (hopefully) not curdle the liquid. I always use a metal or heat resistant glass bowl, not plastic for this. No one likes cleaning molten plastic from their stove.
It is a great process for many things, from this lemon curd, the warming of milk, the melting of chocolate, an old fashioned rice pudding, the even cooking of a Béchamel sauce. All will benefit from this slower, but more even cooking as the liquid can never go over the boiling point of water, and so cannot burn.
However, a couple of words of caution.
- As the upper container is basically heated by the steam from below, there will be leakage of steam around it. Be really careful of this steam, as you may not see it before it burns you.
- Always hold the upper container when stirring or whisking, even if it is a purpose built pan set, it will wobble and you could loose everything.
Recipe
Music is “I have a reservation” from YouTube music library
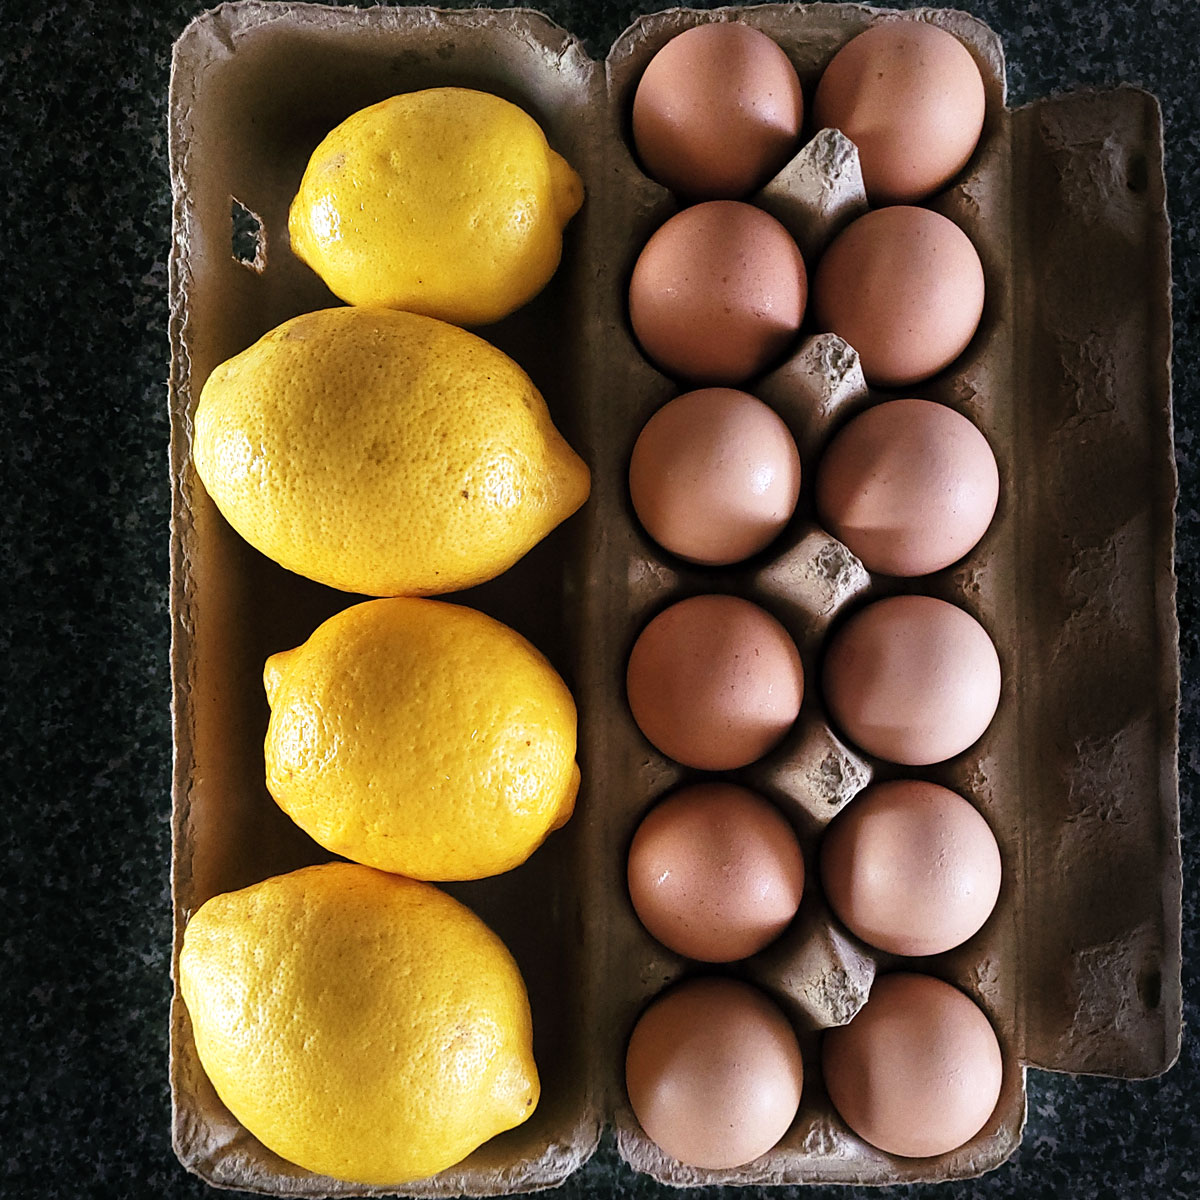
Ingredients
- 4 large Lemons
- 6 x extra large Eggs
- 450g 2Cups Granulated Sugar
- 150g Unsalted Butter, cut into small pieces
- Thoroughly wash and rinse the required jars and lids (see notes) then place on a baking tray and into an oven at 110°C, 225°F, Gas mark ¼
- Wash the lemons then zest and juice them. As we will be straining the liquid later the zest can be coarse and there is no issue if any pips are in the juice.
- Measure the sugar into a large heat resistant bowl, and add the zest and juice of the lemons.
- Place the bowl over a pan of hot water to form the bain-marie and stir gently until all the sugar dissolves and the mixture is clear.
- Take off the heat and stir in the butter until melted.
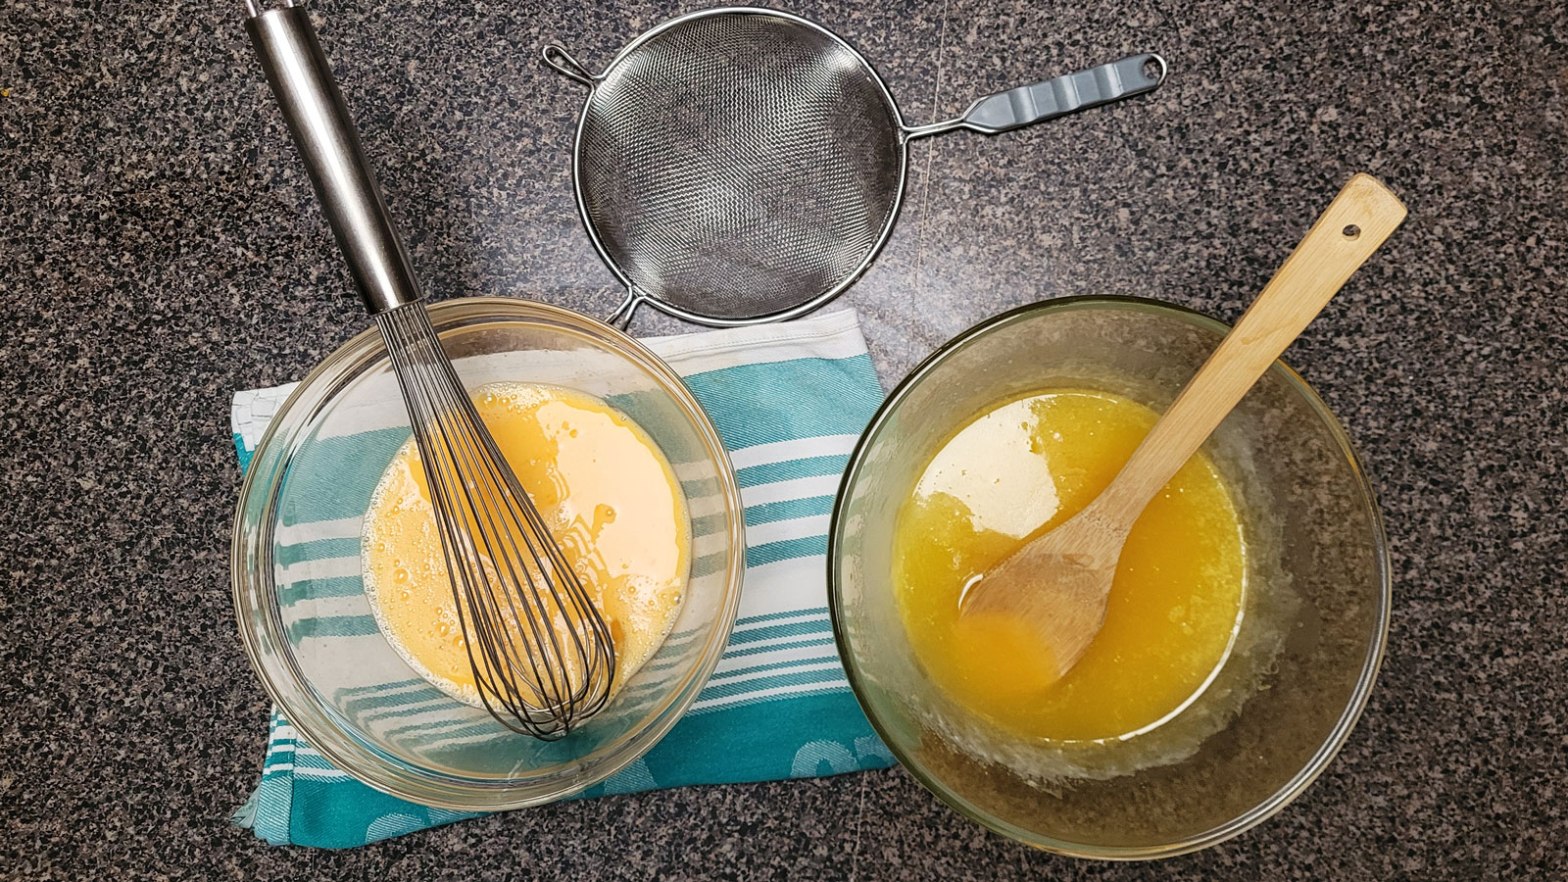
- Crack the eggs into a separate bowl, and whisk lightly.
- Slowly pour the cooled lemon mix through a sieve, to remove the zest pieces and any pips, and onto the eggs whisking continuously so to combine and not scramble the eggs.
- Place the egg-lemon mix back on the bain-marie and stir gently and continuously. Ensure to stir the bottom, middle and sides. The mixture is going to cook mainly from where it is in contact with the bowl and a heat resistant spatula or wooden spoon is best for this task.
- After about five minutes, the mixture will be become thick and glossy. The exact point when it it ready is a judgement call, not a measurable one.
- Take the jars from the oven and carefully fill each jar to the very top and put the lids on . The heat will create a vacuum seal and preserve the curd. If you have a half filled jar as is likely, put the lid on too, it will not seal quite the same and best that you just eat this one first.
- Once cool, ensure to label the jars with both what is in it and when it was made.
Your lemon curd is ready to eat immediately, but will benefit from being allowed to rest for a couple of days if possible.
Gallery


One of my favorites!
LikeLiked by 2 people
Love it too, great for breakfast
LikeLiked by 1 person
Vince, this is an amazing post. Thank you for sharing all your knowledge. I love lemon curd on top of a ginger snap. Simple and amazingly delicious.
LikeLike
A pleasure to share. If you decide to make some, and you do spread on a ginger snap, add a little cream cheese to the biscuit first. instant mini cheesecake!
LikeLiked by 1 person
YUM! Thanks. That would be a quick fall dessert!
LikeLike
Open jar, eat.. can’t get quicker
LikeLike
I could easily just eat this from the jar. EASY!
LikeLike
I already do !!!
LikeLike
This would not last too long in my house lol!
LikeLiked by 1 person
Already need to make another batch!!
LikeLiked by 1 person
I must say.. I have tried your lemon curd and it is delightful!
LikeLike
Thank you, chef, it means a lot to me that you like it!
The trick is in the constant slow stirring.
LikeLike
Yes I loved it! You did a fantastic job chef.
LikeLike